
If you have been following my past article or two then you know that I am on a quest to create a highly performant image hosting service for web and mobile called Eikona (picture in Greek). See below if you want to catch up on my journey from prototype to production.
In my first article, I demonstrate an early prototype of Eikona where I was able to load 2,500+ images locally by bundling them with Webpack. This made it appear to the user that there was little to no loading time (less than 1 second, including the UI loading). I could create a new bundle for each user and serve it to them based on their account which would lead to a snappy user experience, but there are some drawbacks with this approach such as the bundles could become quite large (which would hurt performance) and there is a maximum number of assets that can be bundled in a single Webpack bundle. Not to mention for users with very large image libraries I would have to do a combination of bundles and the next approach I am about to describe. With this in mind, I have decided in the meantime to try a more traditional approach — leveraging the cloud.
What I mean by this, in particular, is cloud object storage. Cloud object storage is highly performant and horizontally scalable (my storage needs can grow indefinitely) which meets many of my needs for an image hosting service. However, there is one huge concern that may come to your mind when you think of using the cloud for prototyping and production projects — cost. I have been thinking about this obstacle when it comes to making a performant image service that is also cost-effective for me and my users. AWS, GCP, and Azure can become expensive quickly. I have been using a service called BackBlaze (B2) for a year now for backing up my Nextcloud instance and my bills have consistently been a couple of dollars a month for hundreds of gigabytes of data. That is significantly cheaper than using AWS S3 directly (B2 uses S3). If I were to use S3 directly 100 GB/mo is approximately $2.33/mo. This is just the storage space and doesn’t count bandwidth from upload/downloads and API calls. In comparison, B2 is only approximately $1.55/mo for 300GBs which is a huge deal. This would allow me to have cheaper development costs and be able to offer a reasonably priced service that is performant and scalable to my users’ needs. This is important because many of my users may have image libraries ranging from 100GB to 1TB.
Step 1 — Sign up for B2 (*Not affiliated)
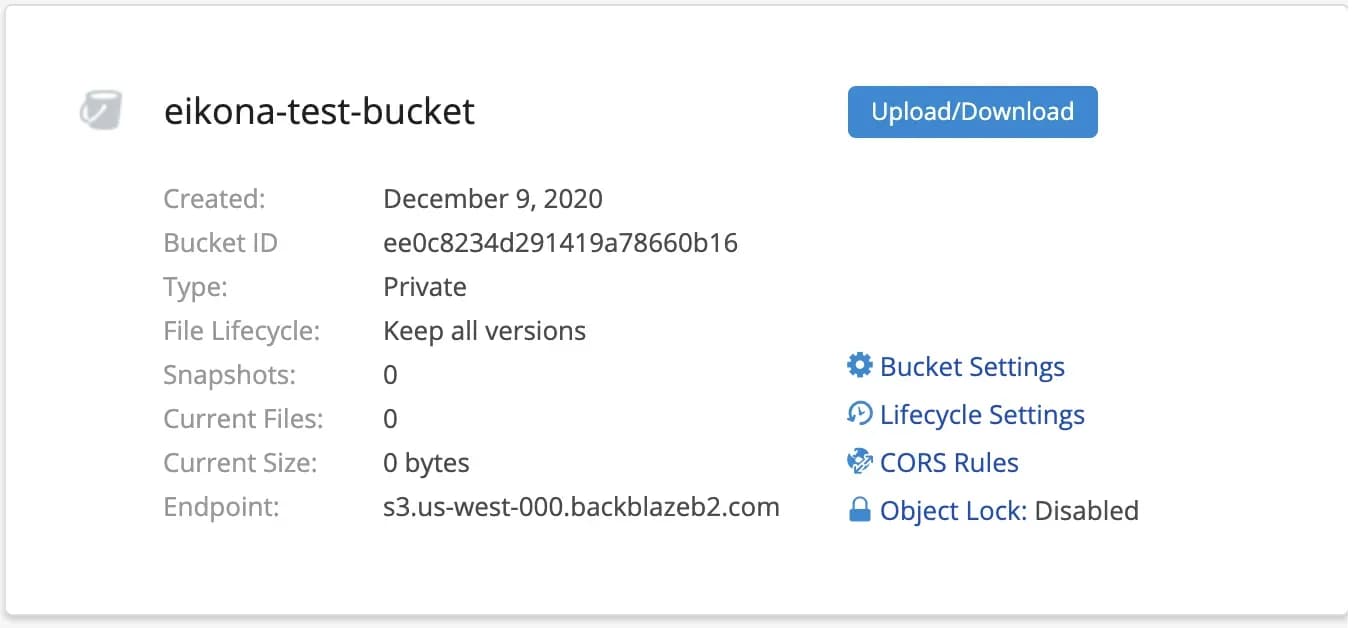
The first step is to sign-up with an account on B2, navigate to the Cloud storage section, and create a bucket just like you would on S3. Once you have created the bucket go ahead and go to the next step.

Step 2 — Install B2 CLI tool
My next step was getting all of my test data into B2. They make it incredibly easy by providing a CLI tool. I recommend that you install python 3.x and use pip to install their CLI by running the following command. Just open your favorite terminal and run this command after python is installed.
Step 3 — Create CLI Authorization Token
Once the B2 CLI tool is installed you just have to create an application token in the B2 online web portal. You can name it based on the computer or project that you intend on using it with. Depending on your needs you may want to change the scope of the permissions (i.e. which buckets the user with the token can read/write to). Select App Keys on the left menu and you will end up on the screen with this button partway down it. Click the Add a New Application Key button.

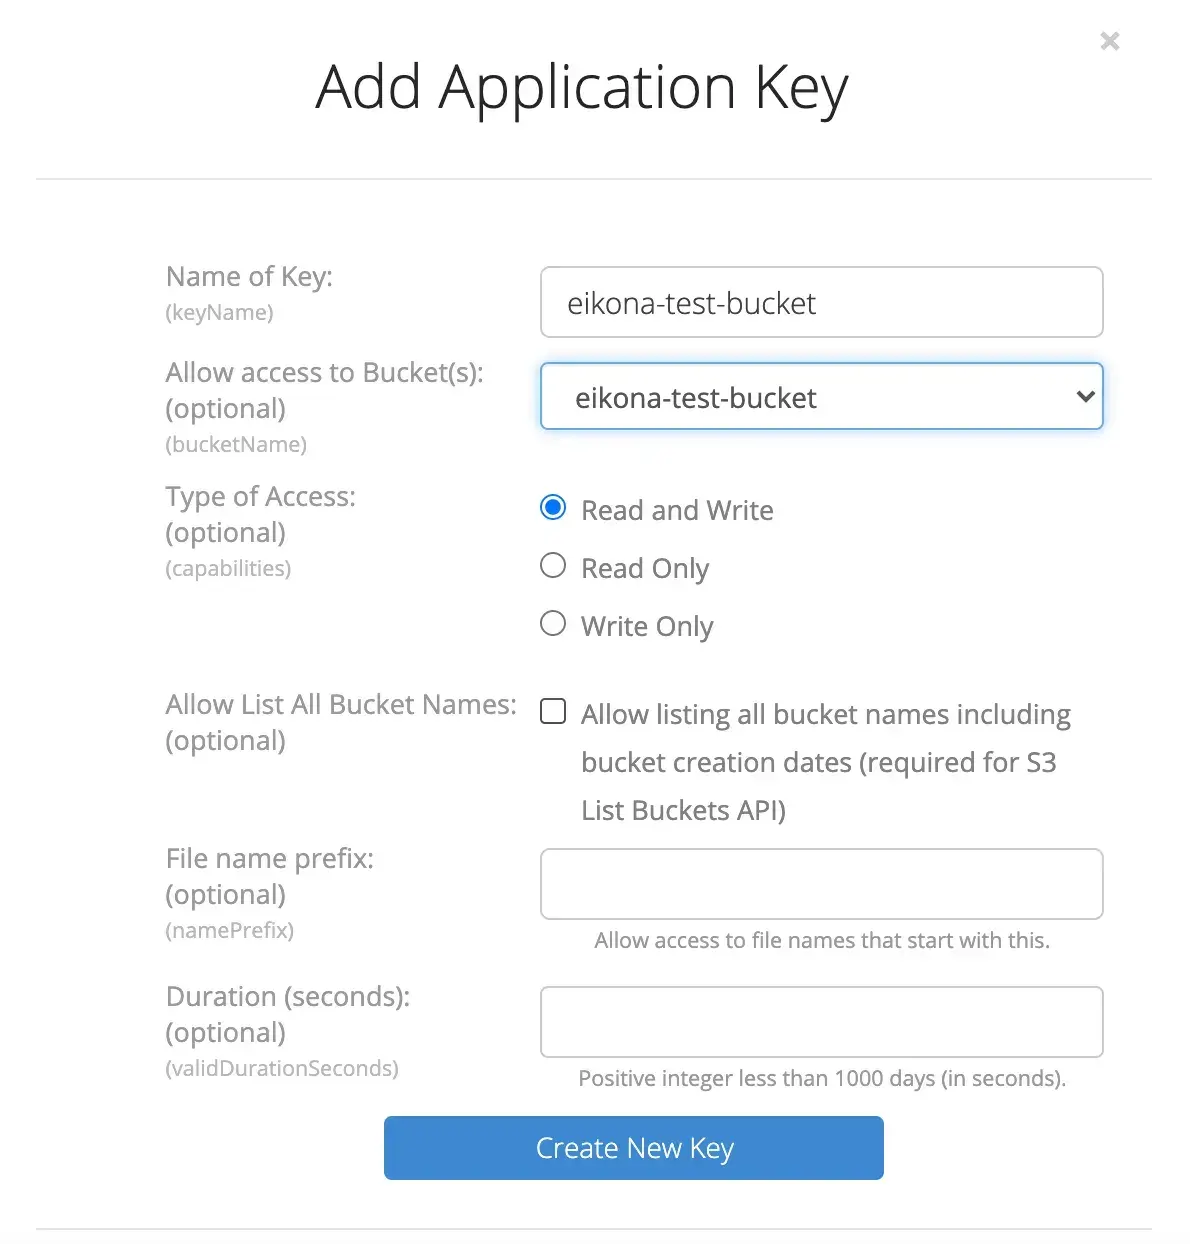
 Don’t worry, this bucket no longer exists. ;)
Step 4 — Authorize b2 CLI
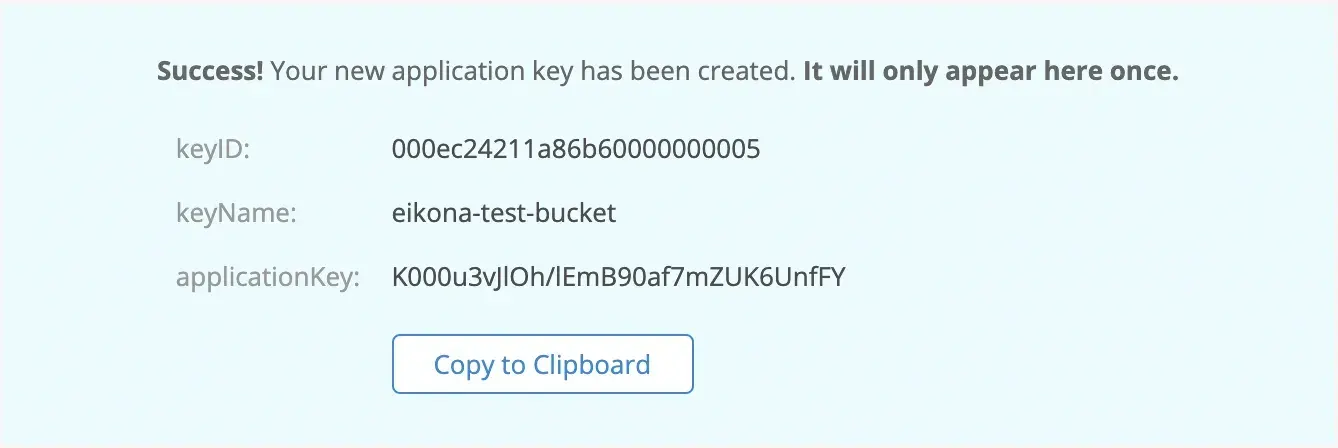
 Copy and paste the application key id and the application key into your terminal.
Step 5 — Sync your data to the bucket
![]() Run the sync command with the folder on the left you want to upload. With the bucket on the right.
Run the sync command with the folder on the left you want to upload. With the bucket on the right.
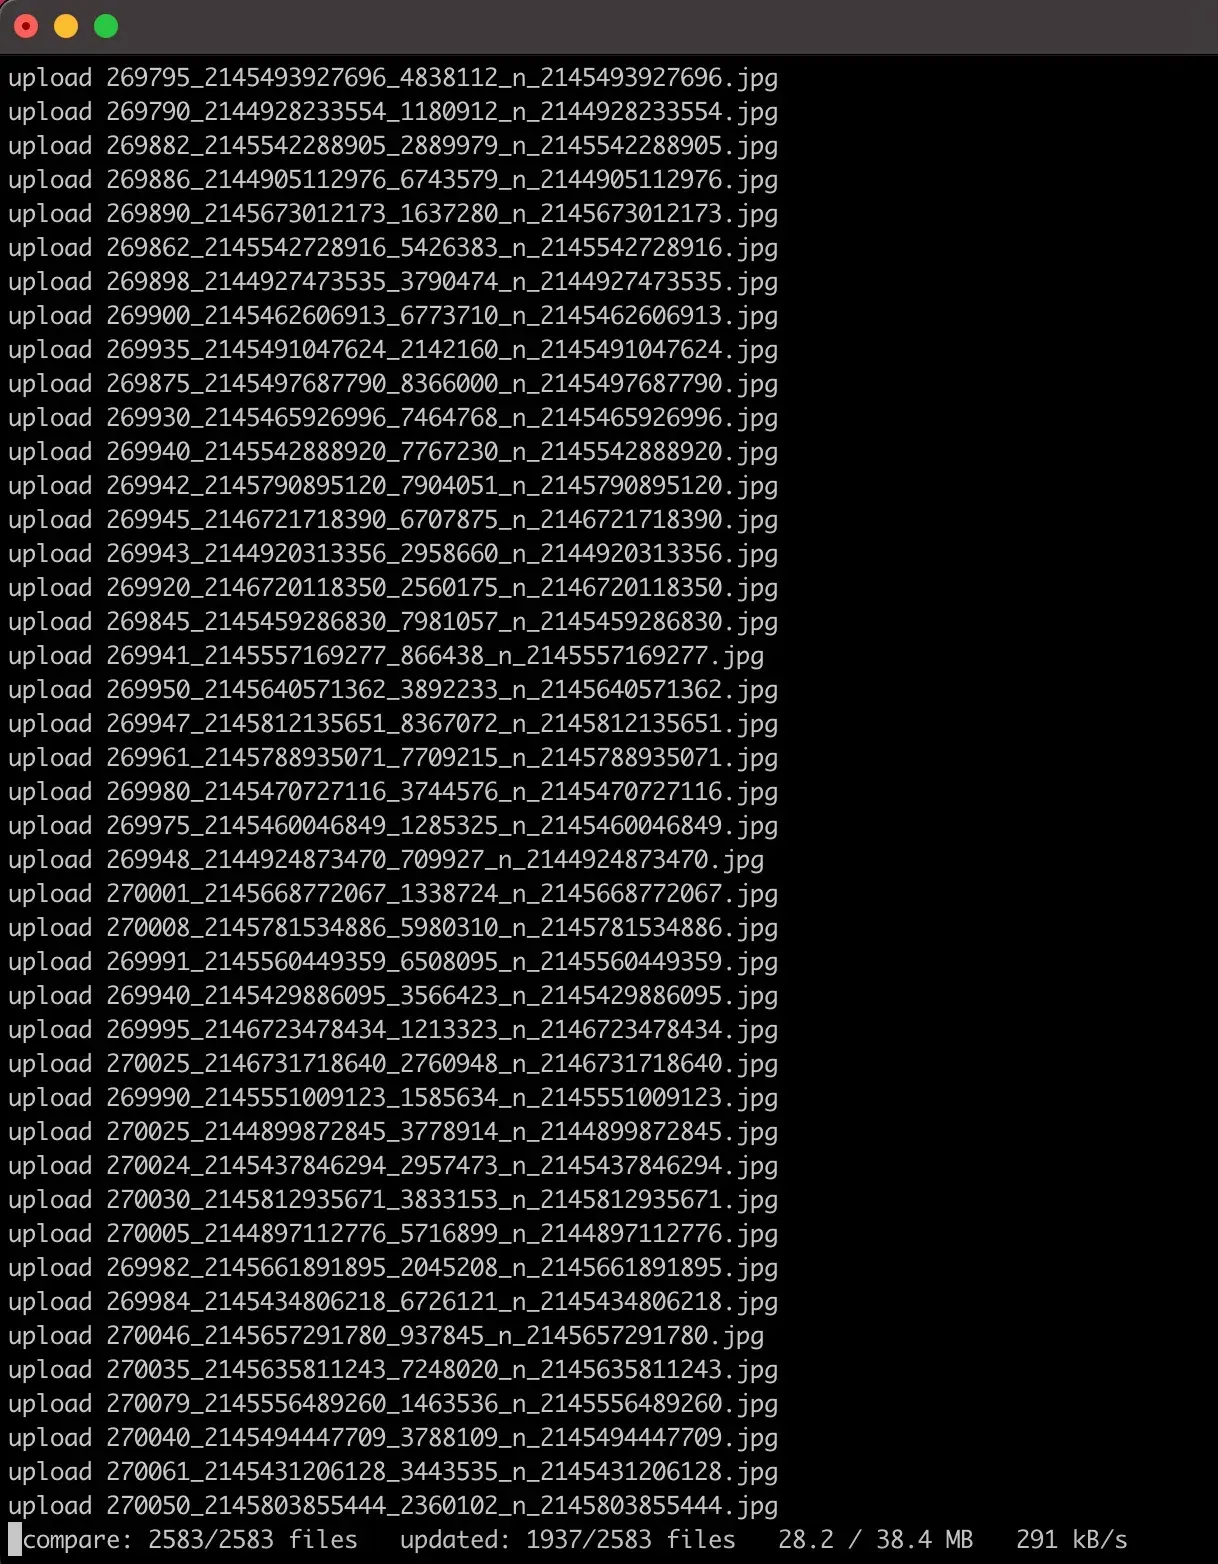
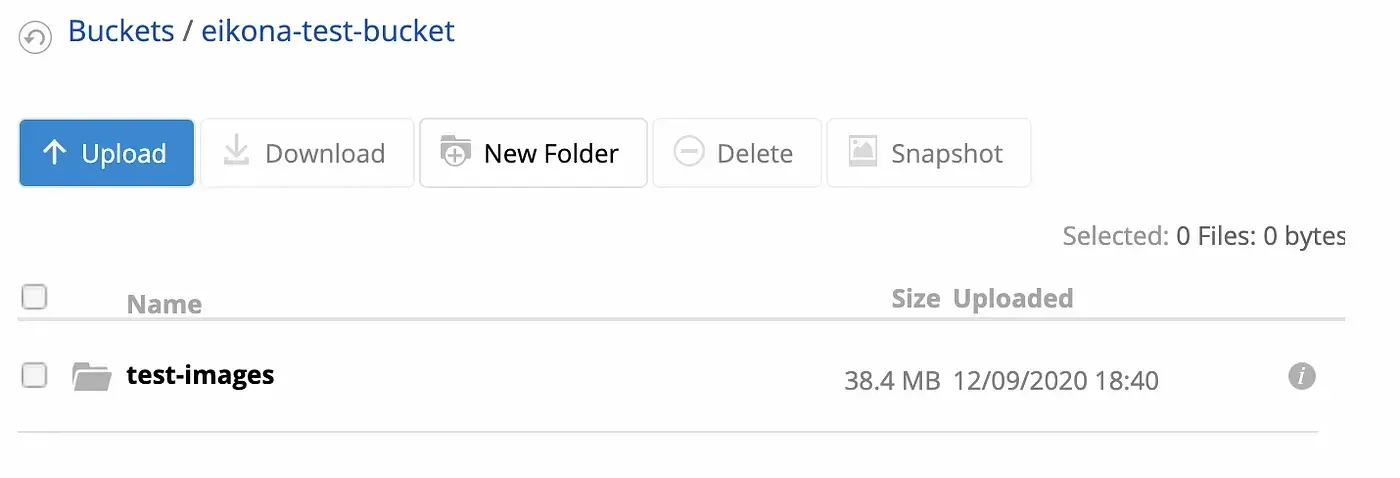
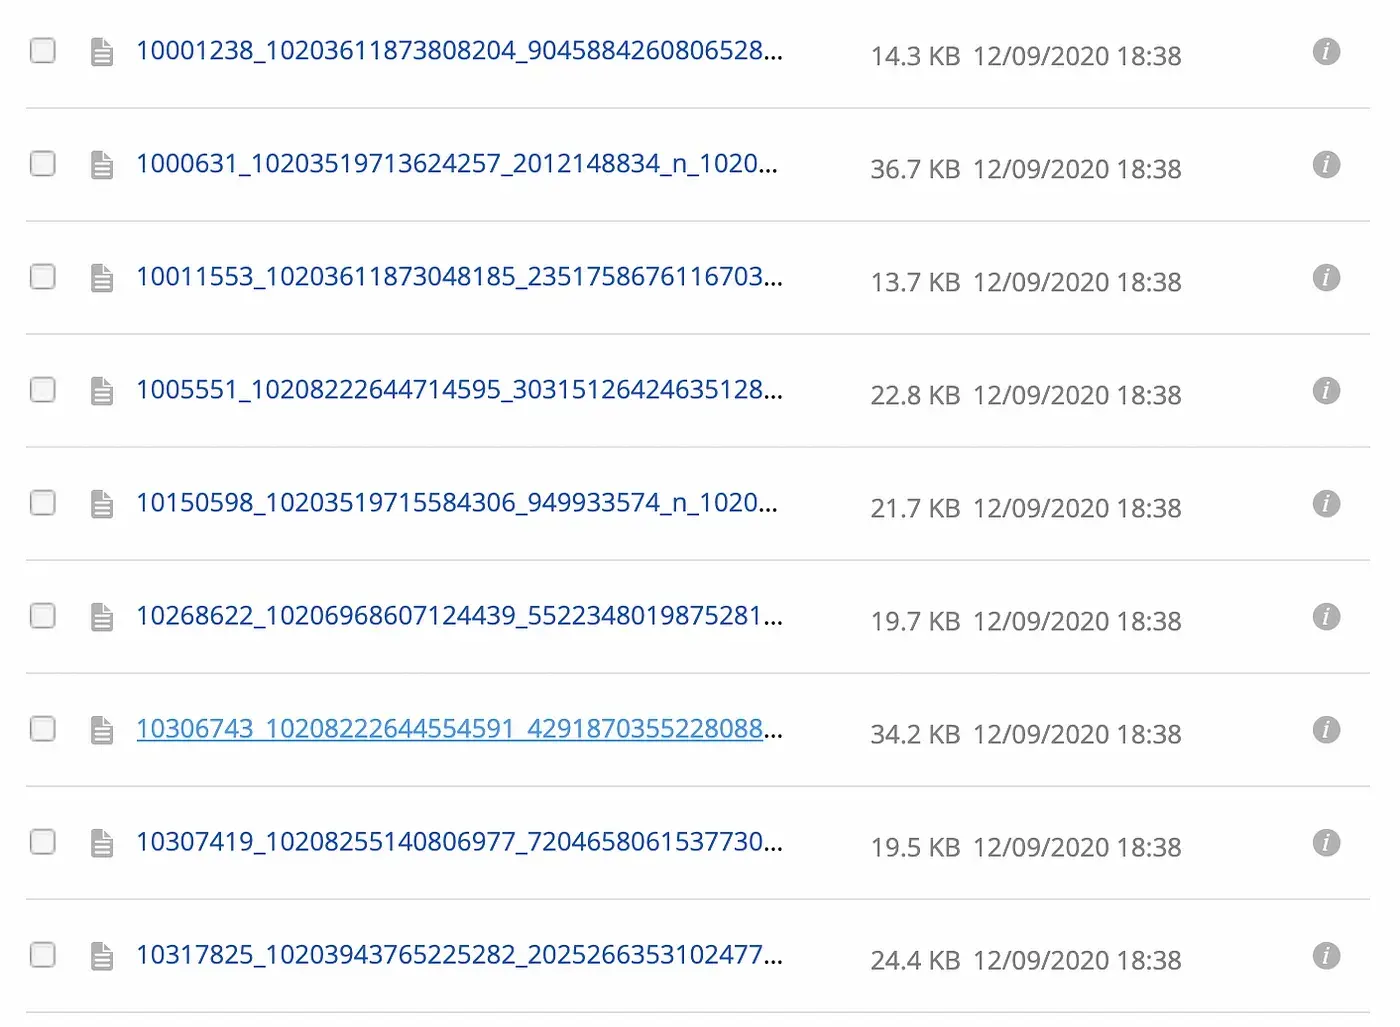 Uploaded image files. All ~2,500 of them that I used in my Eikona demo on my first article.
See that was pretty easy, wasn’t it? Now that you have your data in B2 I will walk you through in my next article how I was able to get the data from B2 to display in Vue.js so quickly that it doesn’t appear that there is any break in the webpage loading process even though the data is coming from the cloud. In my next article I will talk about the code that I used to communicate back and forth with B2 and Eikona and the technologies that were used to implement the data transport layer for my application — Websockets.